Sort By
Refine By
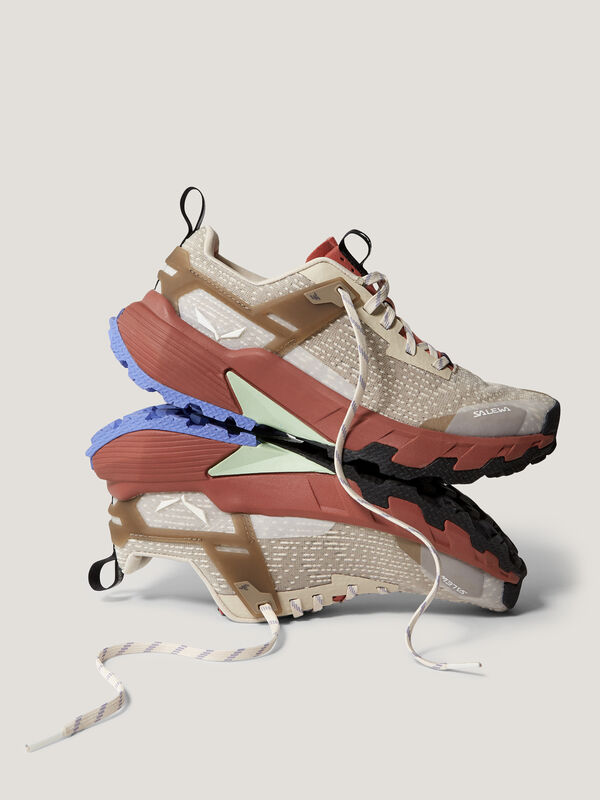
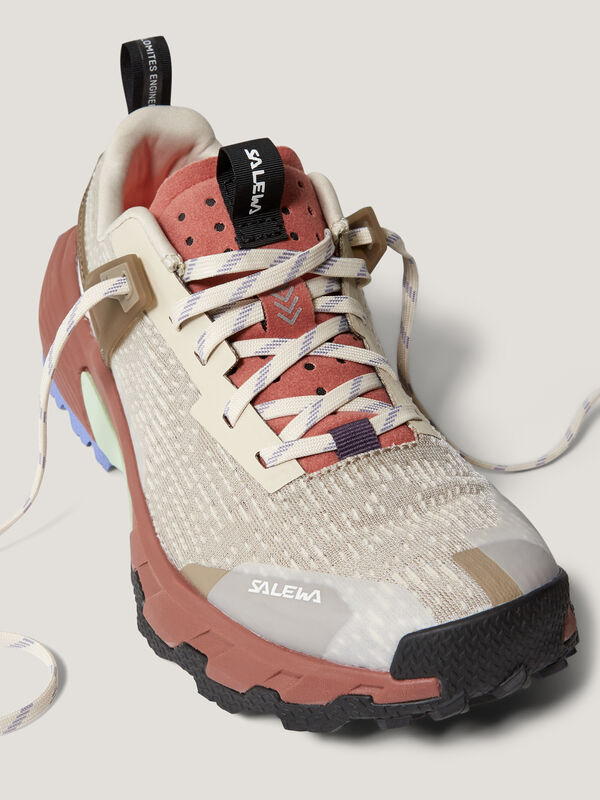
Women's Hiking Shoes




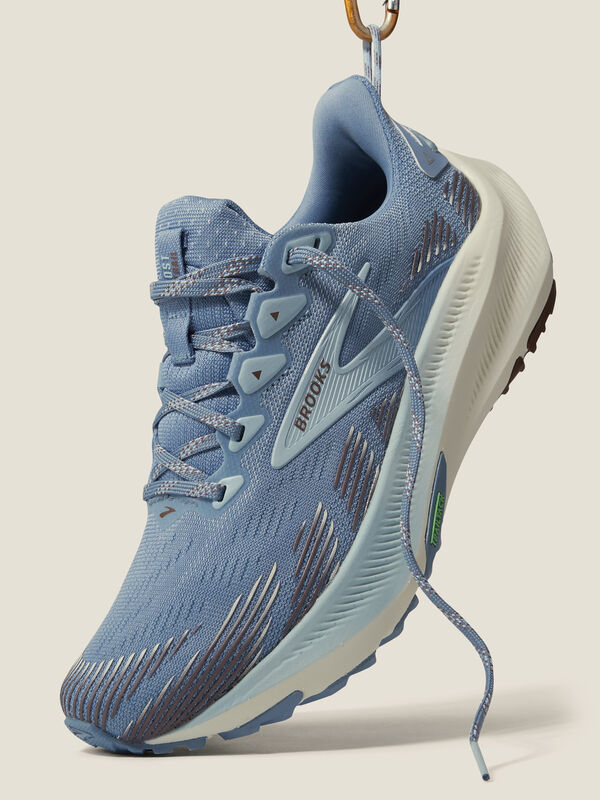
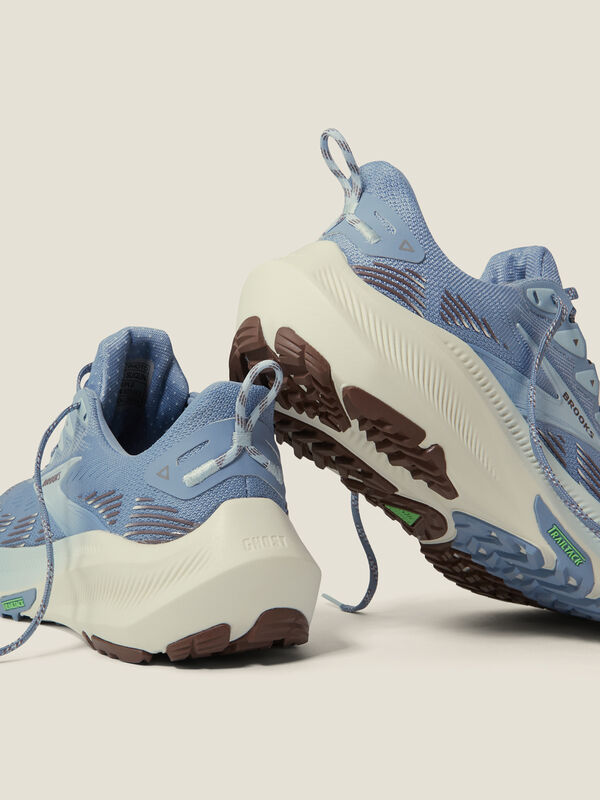


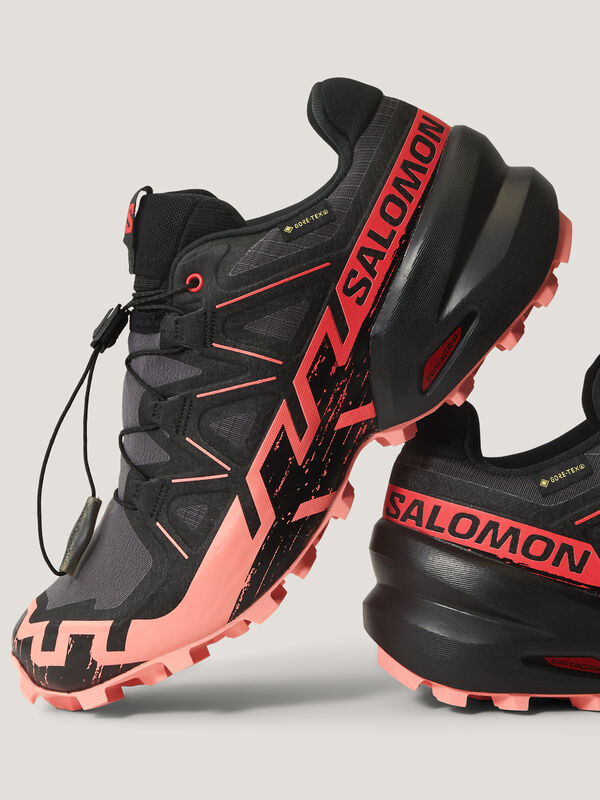
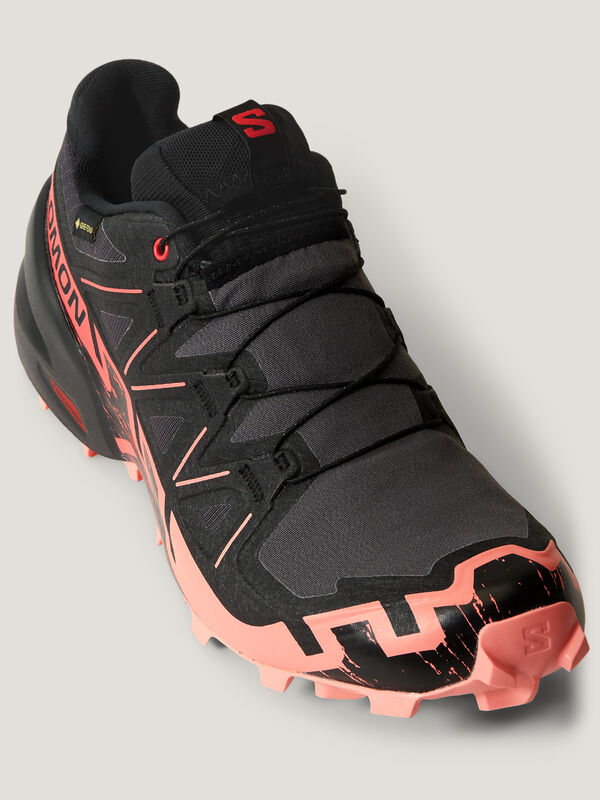


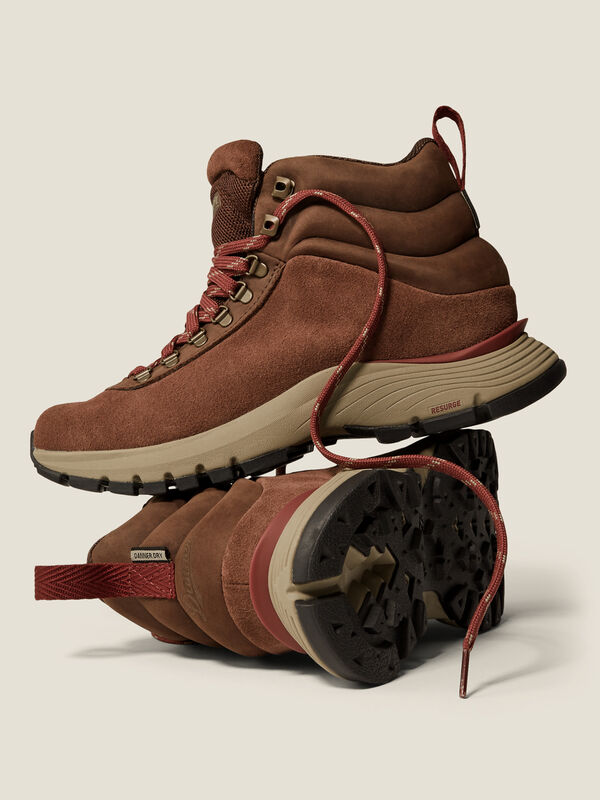
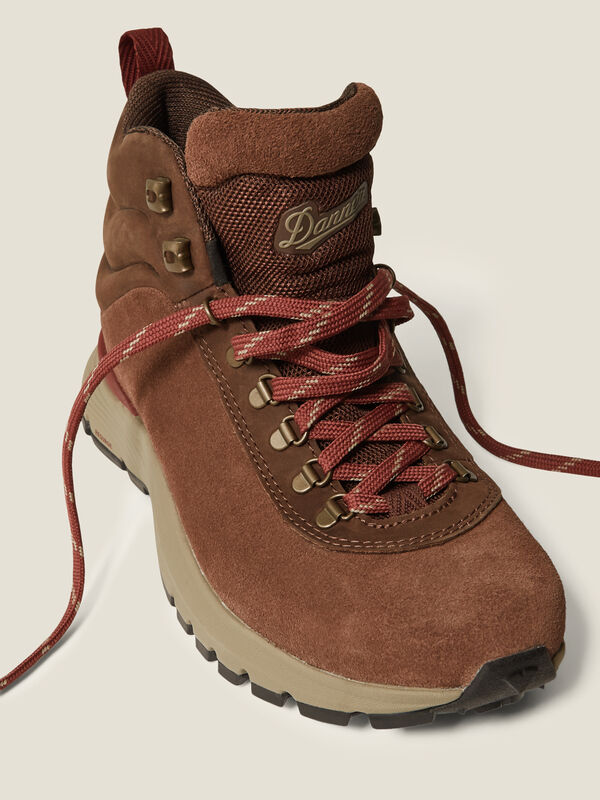

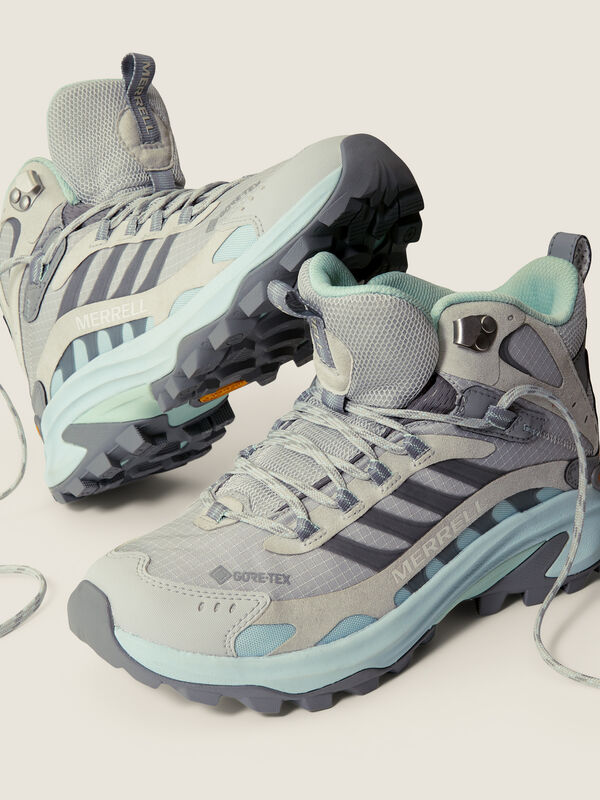
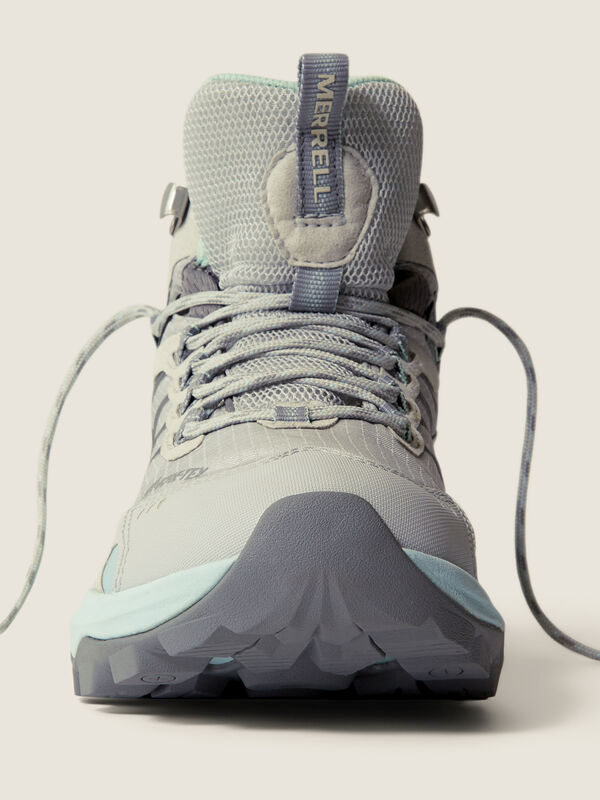

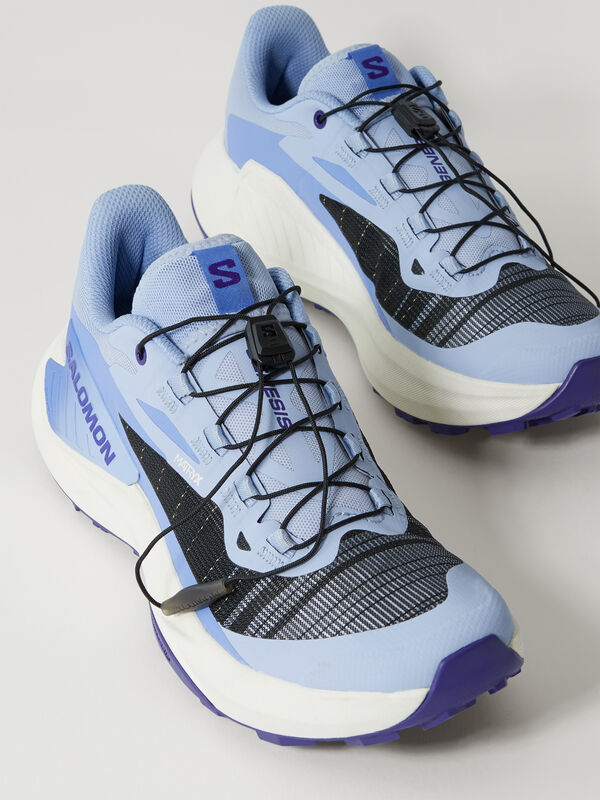
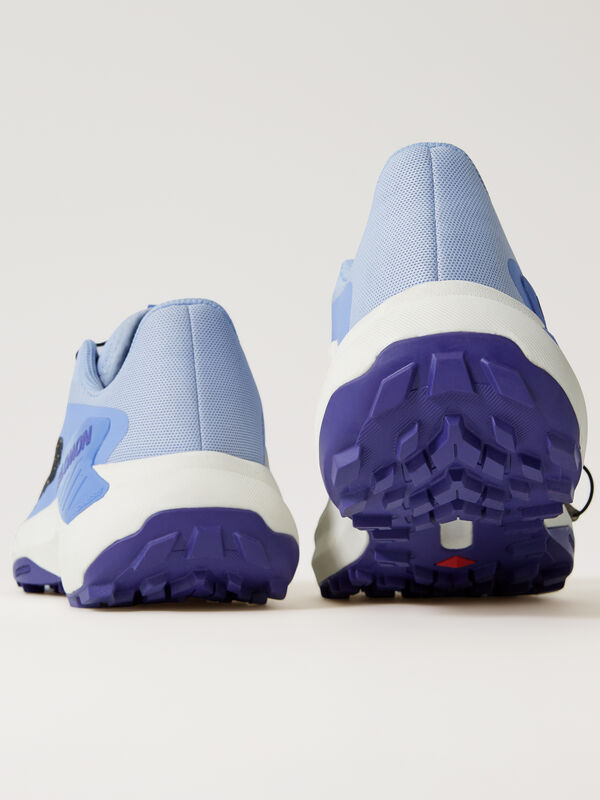


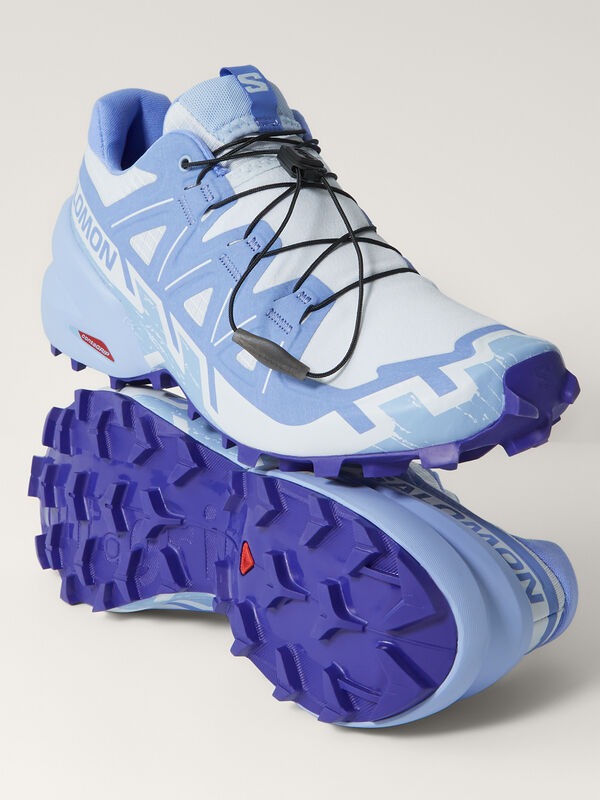
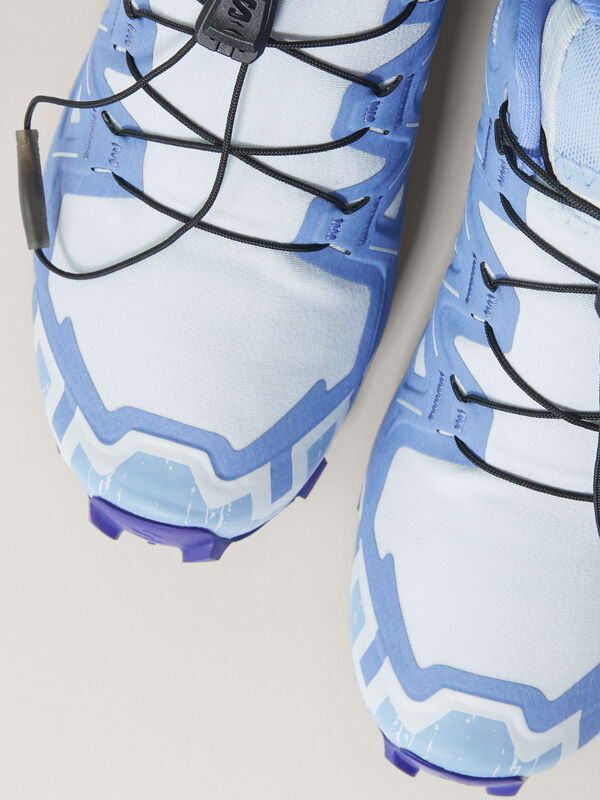





Featured Categories:
Lightweight & Supportive Hiking Shoes for Every Trail
Finding the perfect pair of women’s hiking shoes is the single most important gear decision you will make before hitting the trail. Nothing ruins a highly anticipated outdoor adventure faster than blisters, crushed toes, or slipping on slick rocks. The right footwear acts as the foundation of your entire hiking experience. It provides the necessary traction to keep you safe on steep descents, the cushioning required to protect your joints during long miles, and the structural support needed when carrying a loaded backpack over uneven ground.
Navigating the outdoor footwear market can feel overwhelming. Today's shelves are packed with highly technical terminology, varying styles, and competing brand claims. You will see everything from ultra-lightweight trail runners favored by fast-and-light thru-hikers to stiff, boot-like low-cut shoes designed for maximum stability on technical terrain. Choosing between these options requires a deep understanding of your personal hiking style, the environments you plan to explore, and the unique shape of your own feet.
This comprehensive guide is designed to help you evaluate and choose the best hiking shoes for women. It breaks down every critical component of modern trail footwear, from outsoles and midsoles to lacing systems and waterproofing technologies. Whether you are preparing for casual day hikes on local groomed trails, embarking on a multi-month thru-hiking journey, or searching for the perfect hybrid shoe for hiking trekking shoes women can rely on in the mountains, you will find exactly what you need to make an informed, confident purchase.
Why Gender-Specific Hiking Footwear Matters
For decades, the outdoor industry operated on a flawed philosophy often referred to as "shrink it and pink it." Brands would simply take a men's hiking boot, manufacture it in a smaller size, add pastel colors, and market it to women. Fortunately, modern footwear design has completely abandoned this approach. Today’s high-quality hiking shoes for women are built from the ground up using gender-specific lasts (the physical foot molds used to shape the shoe).
Understanding the biomechanical differences that dictate these designs helps explain why choosing a specifically engineered women's shoe is vital for comfort and performance on the trail.
The Anatomical Foot Shape Differences
Extensive biomechanical studies show that women’s feet are not just scaled-down versions of men’s feet. They have a fundamentally different overall shape. Generally, women have a much higher heel-to-forefoot width ratio. This means that a woman's heel is typically narrower in proportion to the width of her forefoot.
If a woman wears a shoe built on a standard men's last, she will often experience severe heel slip because the back of the shoe is too wide. This heel slip creates friction, which is the primary cause of severe trail blisters. Conversely, if she sizes down to secure her heel, the toe box becomes too tight, leading to pinched toes and bruised toenails. True women's hiking shoes feature a narrower heel cup to lock the foot in place while maintaining an appropriately wide toe box to allow the toes to splay naturally during a hike.
Biomechanics and the Q-Angle
The "Q-angle" (quadriceps angle) is the angle formed between the hip and the knee. Because women generally have wider hips than men for childbirth, their Q-angle is typically larger. This steeper angle affects how the foot strikes the ground with every single step.
A larger Q-angle often leads to slightly more pronation (the inward rolling of the foot upon impact). To account for this, many women-specific trail shoes feature subtly modified midsoles and arch supports. These adjustments help align the foot, knee, and hip, reducing joint fatigue and minimizing the risk of repetitive stress injuries during long day hikes.
Body Mass and Midsole Density
On average, women have less body mass than men of the same height. Footwear midsoles—the thick foam layer that provides cushioning—must be tuned to the wearer's weight to work correctly. If a shoe's foam is too dense, a lighter hiker will not be able to compress it enough to benefit from the shock absorption. It will feel like walking on a wooden plank. Modern women’s hiking shoes use specifically calibrated EVA or polyurethane foams that compress appropriately under lighter loads, delivering a well-cushioned, highly responsive ride right out of the box.
Decoding Footwear Types: Shoes vs. Trail Runners vs. Boots
Before diving into specific technical features, you must determine which broad category of footwear best aligns with your hiking goals. The lines between hiking boots, hiking shoes, and trail running shoes have blurred significantly in recent years. However, each category still serves a distinct purpose on the trail.
Low-Cut Hiking Shoes
Low-cut hiking shoes represent the perfect middle ground for the vast majority of hikers. They are essentially lighter, lower versions of traditional hiking boots. They stop just below the ankle bone, providing excellent freedom of movement while saving significant weight.
Despite their lower profile, these shoes are incredibly rugged. They typically feature stiff midsoles, aggressive rubber outsoles, and durable uppers made from tough synthetics or leather. Some models even include hidden rock plates to protect the bottom of your foot from sharp stones.
Best for: Day hikes on rugged trails, backpackers carrying moderately weighted packs, and hikers who want durability without the heavy, restrictive feel of a full mid-height boot. They thrive in off-trail environments where you need a stable platform but want to remain agile.
Trail Runners
Trail runners have revolutionized the outdoor footwear industry. Originally designed purely for running long distances over dirt and rocks, these highly specialized, lightweight shoes have become the dominant choice for long-distance thru-hikers and fast-and-light backpackers.
Trail runners prioritize breathability, massive cushioning, and minimal weight. They are built with soft, flexible midsoles that allow your foot to move naturally. Because they use a lot of lightweight mesh in the uppers, they require virtually no break-in period. They feel slipper-like right out of the box. Furthermore, when they get wet, they dry incredibly fast compared to traditional hiking shoes.
However, this comfort comes with a major trade-off: durability. The soft foams and thin mesh uppers wear out much faster than the materials used in standard hiking shoes. A typical trail runner might last 300 to 500 miles, whereas a sturdy leather hiking shoe can easily double that lifespan. They also offer far less lateral stability if you are carrying a heavy, traditional backpack.
Best for: Fast-and-light hiking, thru-hiking, dry and hot climates, well-groomed trails, and hikers who prioritize saving weight on their feet above all else.
Mid-Height and High-Top Boots
While this guide primarily focuses on low-cut shoes, it is important to understand when a boot is the better choice. Mid-height boots extend over the ankle bone. This higher collar does two things: it provides a physical barrier against mud, water, and debris (like scree and pine needles) entering the shoe, and it offers varying degrees of ankle support.
If you are carrying a massive backpack (over 40 pounds) for a multi-day expedition, the stiffness and high collar of a boot can help prevent your ankle from rolling when your legs become fatigued. They also provide significantly more warmth in snowy, shoulder-season conditions.
Best for: Heavy backpacking, deep mud, snow, bushwhacking completely off-trail, and hikers with a history of severe ankle instability.
Anatomy of a Premium Women's Hiking Shoe
To evaluate a hiking shoe properly, you must understand its component parts. The performance of any trail footwear is determined by how well the outsole, midsole, upper, and lacing system work together.
Outsoles and Traction Technology
The outsole is the very bottom of the shoe—the rubber layer that physically grips the earth. For hiking footwear, the quality of the outsole dictates your safety on slippery terrain.
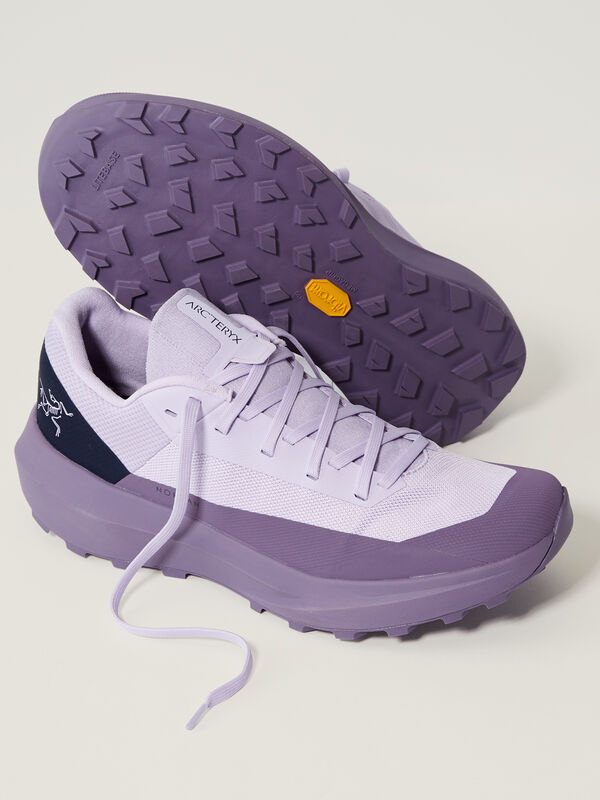
Standard sneaker rubber is hard and smooth. Hiking shoe rubber is completely different. Brands formulate specialized rubber compounds designed to be "sticky" or grippy on wet rocks and roots. The most famous and trusted name in outsole rubber is Vibram. If you see a yellow Vibram logo on the bottom of a shoe (especially Vibram Megagrip), you can trust that it will offer exceptional traction. Other brands use proprietary rubber that is also excellent, such as Salomon's Contagrip.
Beyond the rubber compound itself, you must look at the lug pattern. Lugs are the deep rubber cleats on the bottom of the shoe.
-Deep, widely spaced lugs: These are designed for thick mud and loose dirt. The wide spacing prevents the mud from packing into the sole, allowing the shoe to shed debris and maintain traction.
-Shallow, closely spaced lugs: These are better for rocky, hard-packed trails or slick granite slabs. They put more surface area of sticky rubber in direct contact with the rock.
-Heel brakes: Look at the lugs right at the back edge of the heel. On a good hiking shoe, these lugs are aggressively angled forward. This creates a "braking" zone that digs into the dirt when you are walking steeply downhill, preventing you from slipping onto your back.
Midsoles and Cushioning
The midsole sits between the rubber outsole and your foot. It is the engine of the shoe, responsible for shock absorption, energy return, and protecting your joints from the constant pounding of the trail.
Midsoles are primarily made from two different types of foam:
-
EVA (Ethylene-Vinyl Acetate): This is the most common foam used in modern trail runners and lightweight hiking shoes. EVA is incredibly light, soft, and springy. It provides that instantly plush, well-cushioned feeling. However, EVA breaks down over time. With heavy use, EVA foam compresses and loses its rebound, meaning the shoe will feel "dead" or flat after several hundred miles.
-
PU (Polyurethane): PU foam is denser, heavier, and much firmer than EVA. It requires a brief break-in period and won't feel quite as plush in the store. However, PU is incredibly durable. It will maintain its shape and supportive qualities for years, even under the weight of a heavy backpack. You will typically find PU midsoles in premium, heavy-duty hiking shoes and boots.
Many technical hiking shoes also include a Rock Plate. This is a thin, flexible piece of hard plastic or carbon fiber sandwiched inside the midsole. When you step forcefully on a sharp, jagged rock, the rock plate disperses the pinpoint pressure across the entire sole, preventing the rock from bruising the bottom of your foot. If you hike in highly technical terrain with sharp scree, a rock plate is an invaluable feature.
Uppers and Materials
The upper is the fabric part of the shoe that wraps around the top of your foot. The material used here dictates the shoe's breathability, weight, durability, and break-in time.
-Synthetic Mesh: Made from nylon or polyester, mesh uppers are incredibly lightweight, highly breathable, and dry very quickly. They require zero break-in time. Most fast-and-light trail runners rely heavily on mesh. To add durability, brands will weld TPU (Thermoplastic Polyurethane) overlays over the mesh in high-wear areas like the toe box and the sides of the foot.
-Nubuck and Suede Leather: These leathers are buffed to create a softer, more flexible texture than standard shiny leather. They offer excellent abrasion-resistant qualities, meaning they won't tear easily if you scrape them against sharp rocks. They are very durable and naturally water-resistant, though they are heavier and less breathable than synthetic mesh.
-Full-Grain Leather: Rarely seen on low-cut trail runners but common on heavy-duty boots, full-grain leather is the most durable material available. It requires a long break-in period to soften up, but a well-cared-for leather shoe can last a decade.
The Lacing System
The lacing system does more than just keep the shoe on your foot; it allows you to customize the fit to your exact foot shape.
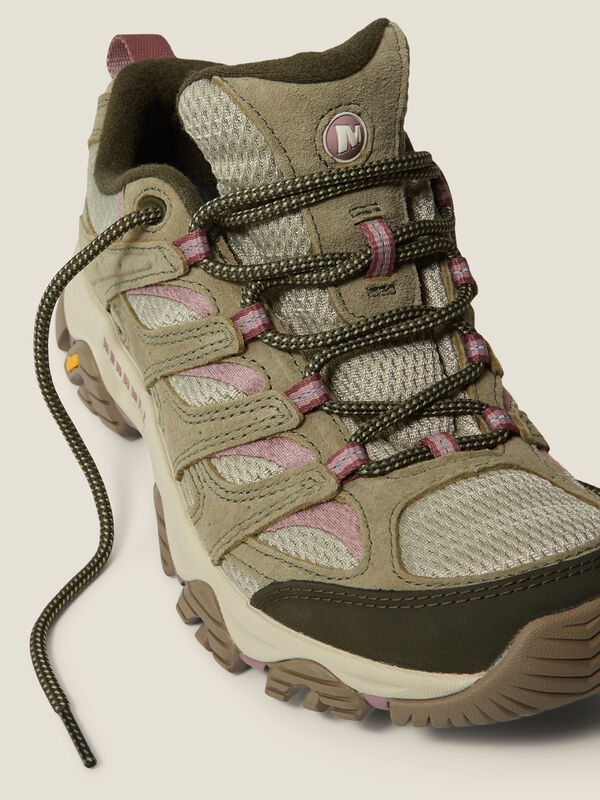
Most hiking shoes use traditional laces threaded through fabric loops or metal eyelets. Metal eyelets are generally more durable than fabric loops, which can snap under extreme tension. Traditional laces allow for specialized lacing techniques, which we will cover later in this guide.
Some brands use proprietary speed-lacing systems. The most notable is Salomon's Quicklace system. Instead of tying a knot, you pull a single Kevlar cord tight and slide a locking mechanism down. This system is incredibly fast, never unties on the trail, and provides an evenly distributed, snug fit. However, it makes it difficult to isolate tension (e.g., keeping the toes loose while locking down the ankle) compared to traditional laces.
The Great Waterproof Debate: GORE-TEX vs. Non-Waterproof
One of the most frequent questions shoppers ask is whether they should buy waterproof hiking shoes. For many beginners, "waterproof" sounds like an automatic upgrade. However, among experienced hikers and thru-hikers, non-waterproof shoes are often the preferred choice. You must carefully weigh the pros and cons based on your local climate.
How Waterproof Hiking Shoes Work
When a shoe is advertised as waterproof, it means there is a specialized, microscopic membrane built into the shoe. This membrane is sandwiched between the outer upper material and the inner lining of the shoe.
The most famous and reliable waterproof membrane is GORE-TEX (often abbreviated as GTX in shoe names, such as the Salomon X Ultra 4 GTX). Other brands use their own proprietary membranes, like Oboz's B-Dry system or Merrell's M-Select Dry.
These membranes work through microscopic pores. The pores in a GORE-TEX membrane are 20,000 times smaller than a drop of water, which makes it impossible for liquid rain or puddle water to pass through from the outside. However, those same pores are 700 times larger than a water vapor molecule. This theoretically allows the sweat vapor generated by your foot to escape, making the shoe "breathable."
The Reality of Waterproof Membranes
While the science of waterproof membranes is sound, the reality on the trail is more complex. Yes, a GORE-TEX shoe will keep your feet completely dry if you step in a shallow stream, walk through morning dew-soaked grass, or hike in the rain.
However, adding a waterproof membrane significantly reduces the overall breathability of the shoe. Even the best GORE-TEX shoe is essentially wrapping your foot in a plastic bag compared to an open-mesh non-waterproof shoe. If you hike in a hot, dry climate (like Arizona or Utah during the summer), your feet will sweat profusely inside a waterproof shoe. Because the sweat cannot escape fast enough, your feet will become soaked from the inside out. Wet, sweaty feet are highly susceptible to brutal friction blisters.
Furthermore, waterproof shoes have a major fatal flaw: the large hole at the top where your foot goes in. If you step in a river that is deeper than the ankle collar of your shoe, water will flood in from the top. Once a waterproof shoe fills with water, the very membrane designed to keep water out will now trap the water inside. A flooded waterproof shoe takes a notoriously long time to dry—sometimes several days.
The Argument for Non-Waterproof Shoes
Many modern thru-hikers completely abandon waterproof shoes, opting instead for highly breathable, non-waterproof trail runners. Their logic is simple: if your feet get wet from a stream crossing or a rainstorm, a non-waterproof mesh shoe will drain instantly. As you continue walking, the body heat generated by your foot combined with the airflow through the mesh will actually dry the shoe out while you wear it.
Making Your Decision
-Buy Waterproof (GORE-TEX/B-Dry) If: You frequently hike in shoulder-season conditions (spring and fall) with cold rain, light snow, or slush. They are also excellent for hikes with frequent, shallow mud puddles, or if you live in a chronically damp environment like the Pacific Northwest. Cold, wet feet can lead to frostbite or hypothermia, making waterproofing essential in chilly climates.
-Buy Non-Waterproof If: You hike primarily in the hot summer months, live in desert environments, or are planning a massive thru-hike where you will be crossing deep, waist-high rivers. Non-waterproof shoes prioritize ventilation, keeping your feet cool and blister-free in high temperatures.
Matching the Shoe to the Terrain
Choosing the right shoe isn't just about brand loyalty or aesthetics; it is about matching the tool to the job. The environment you intend to hike in should heavily dictate your purchasing decision.
1. Groomed Trails and Casual Day Hikes
If your typical weekend involves driving to a local state park and walking well-maintained, dirt paths with minimal elevation gain, you do not need an over-engineered mountain shoe.
-What you need: Prioritize immediate comfort, flexibility, and a lighter weight. A massive rock plate or aggressive downhill braking lugs are unnecessary and will just add heavy bulk to your feet.
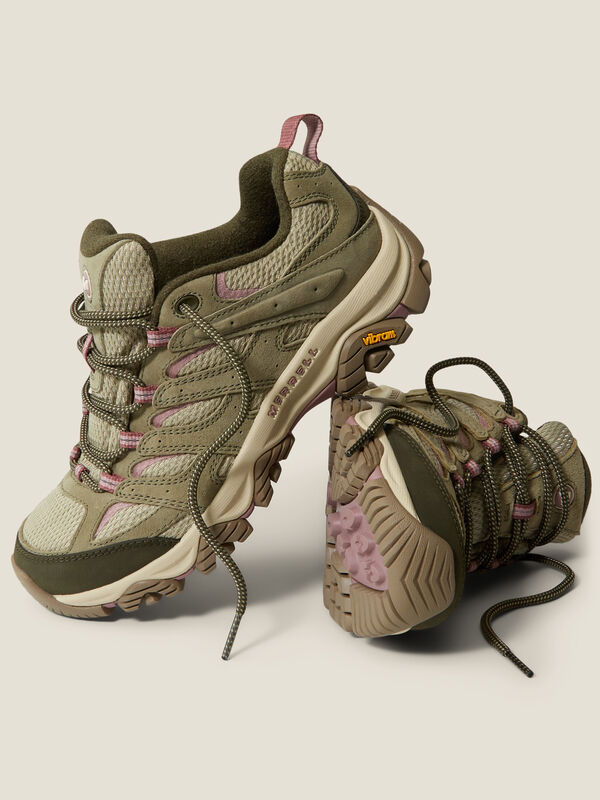
-The Right Choice: A comfortable, flexible shoe like the Merrell Moab 3 or a well-cushioned trail runner.
2. Technical Terrain and Alpine Scrambling
If you are venturing above the tree line, crossing boulder fields, scrambling up granite slabs, or dealing with highly unpredictable, root-choked trails, your footwear needs to act as a protective shield and a reliable anchor.
-What you need: You must prioritize sticky rubber outsoles (like Vibram Megagrip), stiff midsoles to prevent foot fatigue when standing on sharp edges, and highly abrasion-resistant uppers to prevent the shoe from being shredded by rocks. A rubber toe cap is essential to protect your toes when you inevitably kick a hidden stone.
-The Right Choice: A structured, heavily protective shoe.
3. Thru-Hiking and Fast-and-Light Backpacking
When you are aiming to hike 15 to 25 miles a day for weeks or months on end (such as on the PCT or AT), every single ounce on your feet matters. Studies show that one pound of weight on your feet requires the same energy expenditure as five pounds on your back.
-What you need: Minimal weight, massive breathability, fast-drying materials, and enough cushioning to survive high-mileage days. You also need a wide toe box, as human feet can swell up to a full size larger during a long-distance hike.
-The Right Choice: Non-waterproof, wide-toed trail runners.
4. Shoulder-Season and Muddy Hiking
Hiking in the early spring when the snow is melting, or the late fall when freezing rain is common, requires a completely different approach to keep you safe and comfortable.
-What you need: Absolute weather protection to prevent freezing toes, and aggressive, widely spaced lugs on the outsole. If the lugs are too shallow, mud will pack the bottom of your shoe completely flat, turning your boots into dangerous, frictionless ice skates.
-The Right Choice: A dedicated waterproof shoe (GORE-TEX) with deep lugs, paired with a warm merino wool sock.
Finding the Perfect Fit: Sizing, Testing, and Foot Shapes
Even the most technologically advanced, expensive hiking shoe will perform terribly if it does not fit your foot correctly. Fit is highly subjective, but there are strict rules and testing protocols you should follow to ensure success.
The "End of the Day" Rule
Never try on hiking shoes first thing in the morning. Throughout the day, as you walk and stand, gravity and the pressure of your body weight cause your feet to swell and flatten out. A shoe that fits perfectly at 9:00 AM might feel suffocatingly tight by 5:00 PM. Always try on hiking footwear in the late afternoon or evening when your feet are at their largest.
The Thumb Rule for the Toe Box
When you put on a hiking shoe and stand up, you should be able to press your thumb down horizontally between the end of your longest toe and the front edge of the shoe. You need roughly a half-inch (or one thumb's width) of empty space.
Why is this crucial? When you hike steeply uphill, your heel slides to the back of the shoe. But when you hike steeply downhill, gravity forces your entire foot to slide forward. If your toes are already touching the front of the shoe when standing flat, they will violently smash against the front of the shoe on descents. This repeated trauma causes "black toe" (subungual hematoma), where the toenail bruises, dies, and eventually falls off. Always size up to ensure adequate toe clearance.
Testing for Heel Slip
While you want room in the front, you want absolute lockdown in the back. Your heel should act like it is glued to the back of the shoe.
To test this, lace the shoes up tightly. Find an incline board (most outdoor retailers like REI provide these in the footwear department) or a flight of stairs. Walk up the incline on your toes. Pay close attention to your heel. Does it lift up out of the shoe? A tiny fraction of a millimeter is acceptable in a stiff new shoe, but if your heel is sliding up and down noticeably, you are guaranteed to get severe heel blisters. You either need to try a different lacing technique, or that specific brand’s heel cup is simply too wide for your anatomy.
Addressing Specific Foot Types
Not all feet are created equal. You must match your unique foot shape to the brand that caters to it.
-Wide Feet or Bunions: Avoid European brands (like Salomon or La Sportiva), which are historically built on very narrow, low-volume lasts. Instead, look toward Altra (for their FootShape design), Merrell, or the "Wide" variants offered by Hoka.
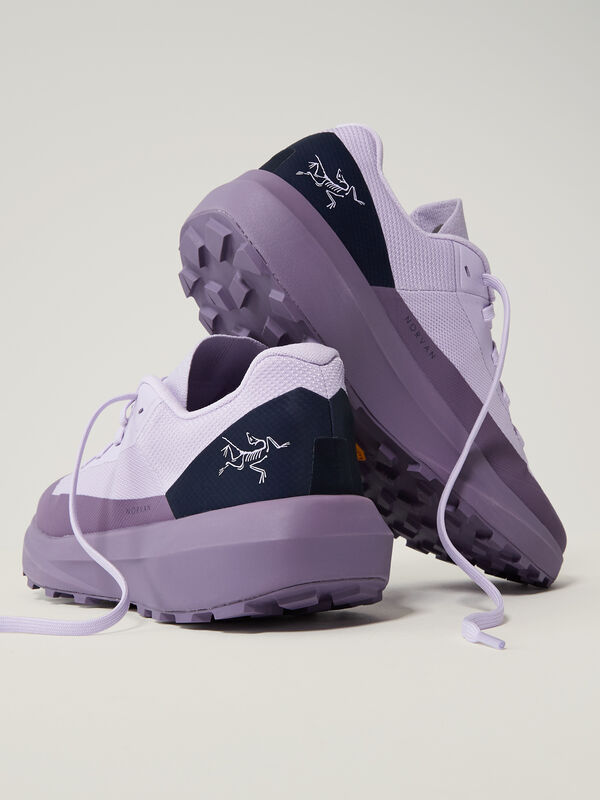
-Narrow Feet: If you find that your feet swim in most shoes and you have to pull the laces so tight that the upper material bunches up, look toward Salomon, La Sportiva, or Arc'teryx. These brands offer a much closer, athletic, low-volume fit.
-High Arches or Plantar Fasciitis: If you suffer from foot pain, prioritize shoes with excellent structural support and firm cushioning. The Salomon X Ultra is great for this. Furthermore, you will almost certainly need to remove the flimsy factory insole and replace it with a supportive aftermarket orthotic.
Lacing Hacks for Custom Comfort
If you find a shoe that fits beautifully in the heel but pinches slightly on top, or feels great everywhere except for a tiny bit of heel slip, you don't necessarily need a different shoe. You might just need to change how you lace it. Lacing techniques can dramatically alter the volume and pressure distribution of a shoe.
1. The Surgeon’s Knot (For Heel Slip)
If you have a narrow heel that is prone to slipping, the Surgeon's Knot is a lifesaver. It locks the laces in place securely so they cannot loosen as you walk.
How to do it: Lace your shoe normally until you reach the eyelets right at the top of the instep (just before the ankle). Instead of crossing the laces over each other once like you normally would, wrap them around each other twice (or even three times). Pull tight. This double wrap creates friction that locks the tension in place. You can now leave the lower part of the shoe comfortably loose while locking the ankle down with maximum tension.
2. Window Lacing (For Top-of-Foot Pain)
If you have high insteps (the top part of your foot), tight laces can compress the nerves running across the top of your foot, causing severe pain or numbness in your toes.
How to do it: Unlace the shoe down to the point where the pressure hurts. Instead of crossing the laces diagonally over the painful spot, thread the lace directly up the side to the next eyelet on the same side. This creates an open "window" or gap in the lacing straight over the sensitive nerve. Once past the painful area, resume normal diagonal lacing.
3. Toe-Relief Lacing (For Wide Forefeet)
If the toe box feels just a bit too restrictive, you can release the tension entirely from the front of the shoe.
How to do it: Completely unlace the shoe. When re-lacing, skip the very first set of eyelets closest to the toes entirely. Start lacing at the second set of eyelets. This allows the material in the toe box to expand fully, giving your toes more room to splay without compromising the lockdown across your midfoot.
The Sock and Insole Ecosystem
A hiking shoe does not operate in isolation. It is part of a footwear ecosystem that includes your socks and your insoles.
Neglecting these two components will sabotage even the most expensive hiking footwear.
The Absolute Necessity of Merino Wool
The golden rule of hiking is: Never wear cotton socks. Cotton absorbs up to 27 times its weight in water, and once it gets wet from your sweat, it stays wet. Wet cotton loses all its structural integrity, sagging and bunching up inside your shoe. The moisture softens your skin, and the bunched cotton creates extreme friction. This is the exact recipe for devastating blisters.
You must invest in high-quality Merino wool hiking socks (brands like Darn Tough or Smartwool). Merino wool is naturally moisture-wicking. It pulls sweat away from your skin and pushes it toward the outer surface of the sock where it can evaporate through the shoe. Furthermore, Merino wool retains its cushioning and insulating properties even when soaking wet. It is also naturally antimicrobial, meaning your shoes will smell significantly better after a long weekend on the trail.
Sock Weights and Volume: Socks come in different thicknesses (ultra-light, light cushion, medium cushion, heavy cushion). You can use sock thickness to micro-adjust the fit of your shoe. If your shoe feels slightly too big, wear a medium cushion sock to fill the excess volume. If your shoe is feeling a bit tight in the summer heat, switch to an ultra-light, unpadded sock to free up space. Crucial Tip: Always wear the exact thickness of sock you plan to hike in when you are trying on shoes at the store.
Upgrading Your Insoles
Take the insole out of any brand-new hiking shoe—even a $200 premium pair—and look at it. It is likely a flimsy, flat piece of cheap foam that offers zero structural support. Brands expect that serious hikers will replace these factory inserts.
If you have high arches, flat feet, or suffer from fatigue, purchasing aftermarket insoles (like Superfeet or Currex) is highly recommended. These insoles feature rigid, structured arch supports and deep heel cups. A structured heel cup gathers the fatty pad beneath your heel bone, concentrating it directly under the bone for enhanced natural shock absorption. A good insole aligns your foot, prevents over-pronation, and drastically reduces the strain on your plantar fascia during long miles.
Essential Care and Maintenance for Maximum Durability
Hiking shoes endure brutal conditions—abrasive rocks, corrosive acidic mud, freezing water, and intense UV exposure. If you simply throw your muddy shoes into a dark closet after a hike, they will deteriorate rapidly. Proper maintenance will easily double the lifespan of your footwear.
1. Cleaning Post-Hike
Never leave thick mud caked on your shoes. Mud acts like a sponge, drawing moisture out of leather and synthetic materials, causing them to dry rot, become brittle, and crack. Furthermore, microscopic grit works its way into the seams of the mesh, acting like sandpaper that literally cuts the fabric fibers as the shoe flexes.
The Process: As soon as you get home, take your shoes to an outside hose or utility sink. Remove the laces and the insoles. Use a soft-bristled brush (an old toothbrush works perfectly) and lukewarm water to gently scrub away all the dirt, mud, and grit. For stubborn grime, you can use a specialized footwear cleaner like Nikwax Footwear Cleaning Gel, but standard water and a brush are usually sufficient for daily maintenance.
2. The Danger of Direct Heat
How you dry your hiking shoes is critical. Never expose your hiking shoes to direct, high heat. Do not put them in a clothes dryer. Do not leave them next to a blazing campfire. Do not place them on a radiator, and do not leave them baking in the trunk of a hot car.
The heat will aggressively shrink leather, warp synthetic meshes, and worst of all, melt the industrial adhesives that hold the rubber outsole to the midsole. Delamination (when the sole peels completely off the bottom of the shoe) is almost always caused by improper heat drying.
The Proper Way to Dry: Dry your shoes at room temperature in a well-ventilated area. To speed up the process, stuff the inside of the wet shoes with crumpled newspaper or dry paper towels. The paper will aggressively pull the moisture out from the inside. Replace the wet paper every few hours until the shoes are completely dry.
3. Restoring Water Resistance (DWR)
Even non-waterproof shoes come from the factory with a DWR (Durable Water Repellent) coating. This chemical treatment causes water to bead up and roll off the outer fabric rather than soaking in. Over time, abrasion and dirt wear this coating away, causing the shoe to "wet out" (the outer fabric absorbs water and becomes heavy).
You can easily restore this barrier. Start with a thoroughly cleaned, damp shoe. Spray a waterproofing treatment (like Nikwax Fabric & Leather Proof) generously over the outside of the shoe. Wipe away the excess, let it dry naturally, and water will once again bead off the surface like magic.
4. Knowing When to Retire Them
Hiking shoes do not last forever. Even if the upper fabric looks perfectly fine, the EVA foam in the midsole eventually compresses and dies. Once the foam loses its rebound, every step sends harsh shockwaves directly into your joints, which can lead to knee pain and shin splints.
A typical EVA-based lightweight hiking shoe or trail runner will last roughly 300 to 500 miles. A heavier, PU-midsole shoe might last 700 to 1,000 miles. Track your mileage mentally. If your knees suddenly start aching after a hike that normally wouldn't bother you, or if the rubber lugs on the outsole are worn completely smooth, it is time to retire the shoes to gardening duty and invest in a new pair.
Frequently Asked Questions
Can I just wear my regular gym running shoes for hiking? While you can technically walk in the woods in gym shoes, it is highly discouraged for anything beyond flat, paved paths. Standard running shoes lack three critical hiking components: traction, protection, and lateral stability. The smooth rubber on gym shoes will slip dangerously on wet rocks and loose dirt. The soft uppers offer no protection if you kick a root, and the highly flexible soles will cause intense foot fatigue when walking over uneven, rocky terrain. Investing in dedicated hiking shoes for women is essential for safety and comfort.
How long should it take to break in a new pair of hiking shoes? It depends entirely on the materials. Modern synthetic trail runners and lightweight mesh hiking shoes (like the Altra Lone Peak or Hoka Speedgoat) should require zero break-in time. They should feel incredibly comfortable the moment you put them on in the store. Heavy-duty leather hiking shoes or boots with stiff PU midsoles (like the La Sportiva Spire) will require a break-in period. Wear them around your house for a few days, then take them on short 1- or 2-mile walks before attempting a long hike. The heat and moisture from your foot will slowly mold the stiff materials to your specific foot shape.
Should I always size up when buying hiking shoes? Generally, yes. It is a widely accepted best practice to buy hiking footwear a half-size to a full-size larger than your standard everyday street shoes. This accommodates the natural swelling that occurs during a long day of walking and ensures you have that critical "thumb's width" of space in the toe box to prevent your toes from smashing against the front of the shoe during steep descents. However, ensure the heel remains locked in place; sizing up should not result in heel slip.
Are GORE-TEX hiking shoes worth the extra money? They are absolutely worth the money if you hike in wet, cold, or muddy environments. GORE-TEX is a premium technology that keeps your feet dry and warm in harsh conditions. However, if you live in a hot, dry climate, or if you primarily hike during the peak heat of summer, GORE-TEX is a hindrance. It will trap sweat and heat, leading to blisters. In hot conditions, save your money and opt for the highly breathable, non-waterproof version of the shoe.
What is the difference between men’s and women’s hiking shoes? Beyond colorways, women's hiking shoes are built on gender-specific lasts. They typically feature a narrower heel cup to prevent slipping, a wider forefoot ratio, and modified arch support to accommodate the larger Q-angle of the female stride. Furthermore, the midsole foam is often tuned (made slightly softer) to provide adequate shock absorption for lighter average body weights. A woman can certainly wear a men's shoe if she has a wider, higher-volume foot, but most women will find significantly better fit and performance in a dedicated women's model.
Why do I keep getting heel blisters even though my shoes fit? If the shoe length is correct but you are still getting heel
blisters, the culprit is usually friction caused by minor heel lift. First, try the Surgeon's Knot lacing technique detailed above to lock your ankle down. Second, examine your socks. If you are wearing cotton or cheap, thin synthetic socks, switch to a high-quality, medium-cushion Merino wool sock to take up the extra volume in the heel cup. If the problem persists, the specific brand's last is simply too wide for your heel, and you should look for a brand known for a narrower heel fit, such as Salomon.
Is ankle support a myth in low-cut hiking shoes? Low-cut shoes inherently offer less mechanical ankle support than high-top boots. However, modern low-cut hiking shoes provide stability in different ways. Shoes with a wide base, a stiff midsole, and structured heel counters (like the Salomon X Ultra 4) provide a highly stable platform that resists twisting. This prevents the foot from rolling over uneven ground in the first place, thereby protecting the ankle. For hikers with healthy joints carrying moderate loads, this underfoot stability is usually more than enough.
Final Thoughts on Your Footwear Investment
Selecting the perfect pair of women's hiking shoes is a process that requires patience and attention to detail. It is not simply about walking into a store and buying the shoe with the most attractive color or the highest overall rating online. It is about understanding your unique biomechanics, acknowledging the specific types of trails you intend to conquer, and matching those variables to the correct technological features.
Take the time to try shoes on at the end of the day. Wear the Merino wool socks you plan to hike in. Demand absolute lockdown in the heel and generous freedom for your toes. Do not be afraid to utilize lacing hacks or invest in aftermarket insoles to perfect the internal volume.
Your footwear is the critical interface between you and the earth. When you take the time to find the ideal hiking trekking shoes women can trust on challenging terrain, you stop thinking about your feet entirely. You stop worrying about blisters, rolled ankles, and slippery descents. Instead, you are finally free to look up, take in the scenery, and fully immerse yourself in the joy of the trail. Choose wisely, care for them properly, and let your new shoes carry you to your next great outdoor adventure.